MiroTalk WEB - Self hosting
Description
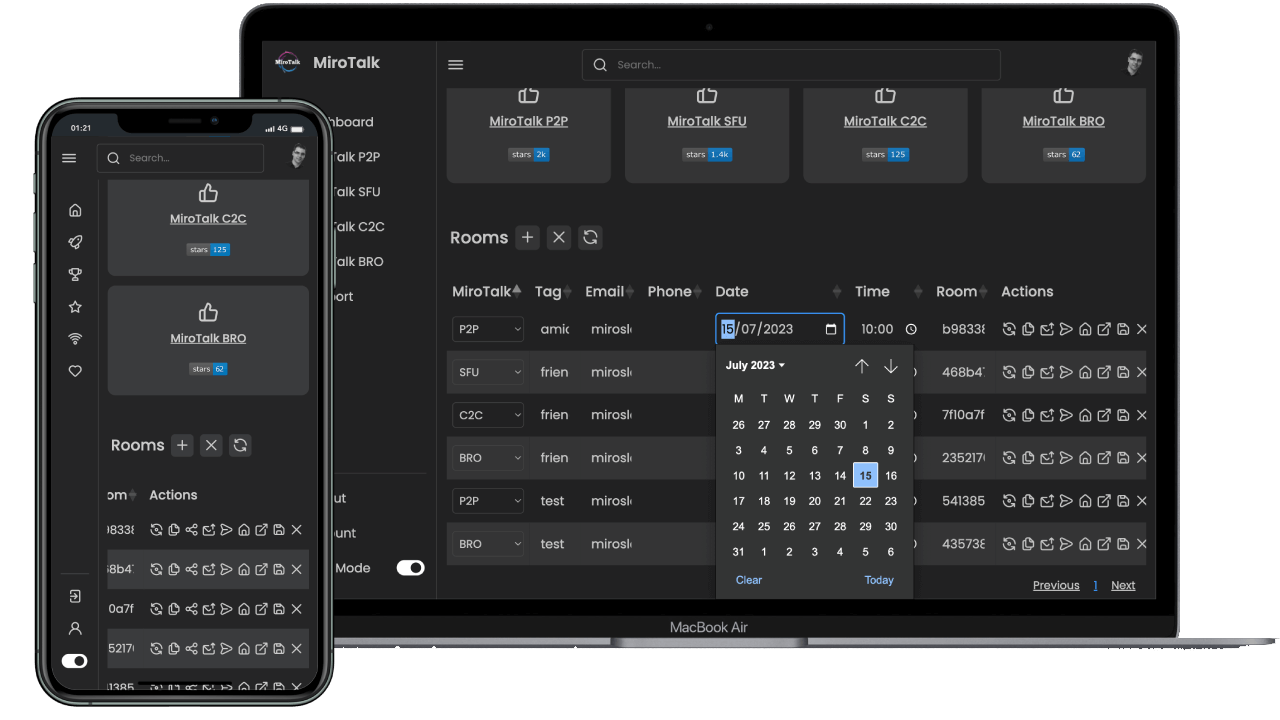
MiroTalk WEB is a browser-based room scheduler for organizing and managing team meetings. Streamlines internal communication and collaboration for organizations.
Live demo: https://webrtc.mirotalk.com
Requirements
- Server Selection:
- OS: Ubuntu 22.04 LTS.
- Node.js (LTS) and npm
- Domain or Subdomain Name (e.g.,
YOUR.DOMAIN.NAME) with a DNS A record pointing to your server's IPv4 address.
Automated Setup
Quick Automated Installation
You can automate the entire setup (Node.js, Nginx, SSL, Docker) using our installation scripts on a clean Ubuntu server. Check out the MiroTalk WEB Setup Script for details.
Installation

Install NodeJS and npm using Node Version Manager
Quick start
# Clone the repository
git clone https://github.com/miroslavpejic85/mirotalkwebrtc.git

# Navigate to the project directory
cd mirotalkwebrtc

# Copy and customize the environment template
cp .env.template .env

# Copy and customize the config template
cp backend/config.template.js backend/config.js
Config.js
Customize the backend/config.js according to your needs:
"use-strict";

module.exports = {
  //...
  MiroTalk: {
    P2P: {
      Visible: true,
      Home: "https://P2P-DOMAIN-NAME",
      Room: "https://P2P-DOMAIN-NAME/newcall",
      Join: "https://P2P-DOMAIN-NAME/join/",
      //...
    },
    SFU: {
      Visible: true,
      Home: "https://SFU-DOMAIN-NAME",
      Room: "https://SFU-DOMAIN-NAME/newroom",
      Join: "https://SFU-DOMAIN-NAME/join/",
      //...
    },
    C2C: {
      Visible: true,
      Home: "https://C2C-DOMAIN-NAME",
      Room: "https://C2C-DOMAIN-NAME/?room=",
      //...
    },
    BRO: {
      Visible: true,
      Home: "https://BRO-DOMAIN-NAME",
      Broadcast: "https://BRO-DOMAIN-NAME/broadcast?id=",
      Viewer: "https://BRO-DOMAIN-NAME/viewer?id=",
      //...
    },
  },
  //...
};
Here's a breakdown of the structure:
Visible: Display on MiroTalk WEB dashboard (boolean).Home: Homepage URL.Room: URL for creating a new call/room.Join: URL for joining an existing call/room.Broadcast: URL for broadcasting.Viewer: URL for viewing a broadcast.
To use this configuration file, you would replace the placeholder values like 'https://P2P-DOMAIN-NAME' with the actual domain or subdomain names where your MiroTalk instances are hosted. This ensures that the application correctly generates the URLs for different MiroTalk functionalities.
For example, if your P2P instance is hosted at https://mirotalk-p2p.example.com, you would replace 'https://P2P-DOMAIN-NAME' with 'https://mirotalk-p2p.example.com' in the config.js file. Repeat this process for each component and its corresponding URLs.
MongoDb

Local MongoDB Deployment
Install Docker and Docker Compose:
# Install Docker
sudo apt install -y docker.io

# Install Docker Compose
sudo apt install -y docker-compose
To run MongoDB locally with Docker Compose:
Start the MongoDB container:
Stop the MongoDB container:
Cloud MongoDB Deployment (Optional)
For cloud MongoDB deployments, such as with MongoDB Atlas, make sure to update the credentials in the `.env` file accordingly.
User Email Verification (Optional)

By default, email verification is disabled. To enable it, set EMAIL_VERIFICATION to true in the .env file, and ensure the email settings are properly configured.
SaaS Mode (Stripe)
MiroTalk WEB can run as a paid SaaS platform with subscription checks powered by Stripe. To enable and configure this option, see the SaaS Mode (Stripe) guide.
Install dependencies and start the server
Verify the installation: http://YOUR.DOMAIN.NAME:9000
Using PM2 (Process Manager)

Install PM2:
# Install PM2
npm install -g pm2

# Start the server
pm2 start backend/server.js --name mirotalkweb

# Save the process list
pm2 save

# Enable auto-start on boot
pm2 startup
Using Docker

Install Docker and Docker Compose:
# Install Docker and Docker Compose
sudo apt install -y docker.io
sudo apt install -y docker-compose

# Clone the repository
git clone https://github.com/miroslavpejic85/mirotalkwebrtc.git

# Navigate to the project directory
cd mirotalkwebrtc

# Copy and customize the environment template
cp .env.template .env

# Copy and customize the config template
cp backend/config.template.js backend/config.js

# Copy and customize the Docker Compose template
cp docker-compose.template.yml docker-compose.yml

# Pull the official Docker image
docker pull mirotalk/webrtc:latest

# Create and start containers (add -d to run in background)
docker-compose up
Verify the installation: https://YOUR.DOMAIN.NAME:9000
Configuring Nginx & Certbot

To use MiroTalk WEB without the port number and with encrypted communications (required for proper functionality), install Nginx and Certbot:
# Install Nginx
sudo apt-get install -y nginx

# Install Certbot (SSL certificates)
sudo apt install -y snapd
sudo snap install core; sudo snap refresh core
sudo snap install --classic certbot
sudo ln -s /snap/bin/certbot /usr/bin/certbot

# Configure Nginx
sudo vim /etc/nginx/sites-enabled/default
Add the following:
# HTTP — redirect all traffic to HTTPS
server {
    listen 80;
    listen [::]:80;
    server_name YOUR.DOMAIN.NAME;

    return 301 https://$host$request_uri;
}
# Test Nginx configuration
sudo nginx -t

# Enable HTTPS with Certbot (follow the prompts)
sudo certbot certonly --nginx

# Add Let's Encrypt configuration to Nginx
sudo vim /etc/nginx/sites-enabled/default
Add the following:
# MiroTalk WebRTC admin - HTTPS — proxy all requests to the Node app
server {
    # Enable HTTP/2
    listen 443 ssl http2;
    listen [::]:443 ssl http2;
    server_name YOUR.DOMAIN.NAME;

    # Use the Let’s Encrypt certificates
    ssl_certificate /etc/letsencrypt/live/YOUR.DOMAIN.NAME/fullchain.pem;
    ssl_certificate_key /etc/letsencrypt/live/YOUR.DOMAIN.NAME/privkey.pem;

    location / {
        proxy_set_header X-Forwarded-For $proxy_add_x_forwarded_for;
        proxy_set_header Host $host;
        proxy_pass http://localhost:9000/;
        proxy_http_version 1.1;
        proxy_set_header Upgrade $http_upgrade;
        proxy_set_header Connection "upgrade";

        # Optional: increase buffers to accommodate large headers/cookies.
        # May be required with some OIDC / SSO providers (e.g. Azure AD/Entra,
        # Keycloak with many group claims) whose tokens exceed nginx defaults.
        proxy_buffer_size       128k;
        proxy_buffers         8 256k;
        proxy_busy_buffers_size 512k;
    }
}
# Test Nginx configuration again
sudo nginx -t

# Restart Nginx
service nginx restart
service nginx status

# Set up auto-renewal for SSL certificates
sudo certbot renew --dry-run --cert-name YOUR.DOMAIN.NAME

# Show certificates
sudo certbot certificates
Verify your MiroTalk WEB instance: https://YOUR.DOMAIN.NAME
Apache Virtual Host (Alternative to Nginx)

If you prefer Apache, configure it with the equivalent settings provided in this guide.
# Install apache with certbot
apt install python3-certbot-apache -y

# Setting up ssl
certbot --apache --non-interactive --agree-tos -d YOUR.DOMAIN.NAME -m your.email.address

# Edit the apache sites
sudo vim /etc/apache2/sites-enabled/YOUR.DOMAIN.NAME.conf
Add the following:
# HTTP — redirect all traffic to HTTPS
<VirtualHost *:80>
    ServerName YOUR.DOMAIN.NAME
    Redirect permanent / https://YOUR.DOMAIN.NAME
</VirtualHost>

<VirtualHost *:443>
    ServerName YOUR.DOMAIN.NAME

    # SSL Configuration
    SSLEngine on
    SSLCertificateFile /etc/letsencrypt/live/YOUR.DOMAIN.NAME/fullchain.pem
    SSLCertificateKeyFile /etc/letsencrypt/live/YOUR.DOMAIN.NAME/privkey.pem
    Include /etc/letsencrypt/options-ssl-apache.conf

    # Enable HTTP/2 support
    Protocols h2 http/1.1

    <Location />
        # Proxy Configuration for Node.js App
        ProxyPass http://localhost:9000/
        ProxyPassReverse http://localhost:9000/

        ProxyPreserveHost On

        RequestHeader set X-Forwarded-For "%{REMOTE_ADDR}s"
        RequestHeader set X-Forwarded-Proto "https"
        RequestHeader set Host "%{HTTP_HOST}s"

        # Enable WebSocket proxy support for Socket.IO
        RewriteEngine On
        RewriteCond %{HTTP:Upgrade} =websocket [NC]
        RewriteRule /(.*) ws://localhost:9000/socket.io/$1 [P,L]
        # Adjust the WebSocket path according to your Socket.IO configuration
        # For Socket.IO 3.x or higher, use /socket.io/?EIO=4&transport=websocket
    </Location>
</VirtualHost>
# Check configuration
sudo apache2ctl configtest

sudo a2enmod proxy # Enables the `mod_proxy` module, which is essential for proxying HTTP and WebSocket connections.
sudo a2enmod proxy_http # Enables the `mod_proxy_http` module, which adds support for proxying HTTP connections.
sudo a2enmod proxy_wstunnel # Enables the `mod_proxy_wstunnel` module, which provides support for tunneling WebSocket connections

# Restart apache
sudo systemctl restart apache2
Updating Your Instance
To keep your MiroTalk WEB instance up to date, create an update script:
For PM2:
For Docker:
#!/bin/bash

cd mirotalkwebrtc
git pull
docker-compose down
docker-compose pull
docker image prune -f
docker-compose up -d
Make the script executable
To update your MiroTalk WEB instance to the latest version, run the script:
Changelogs
Stay informed about project updates by following the commits of the MiroTalk WEB project here