RTMP Streaming
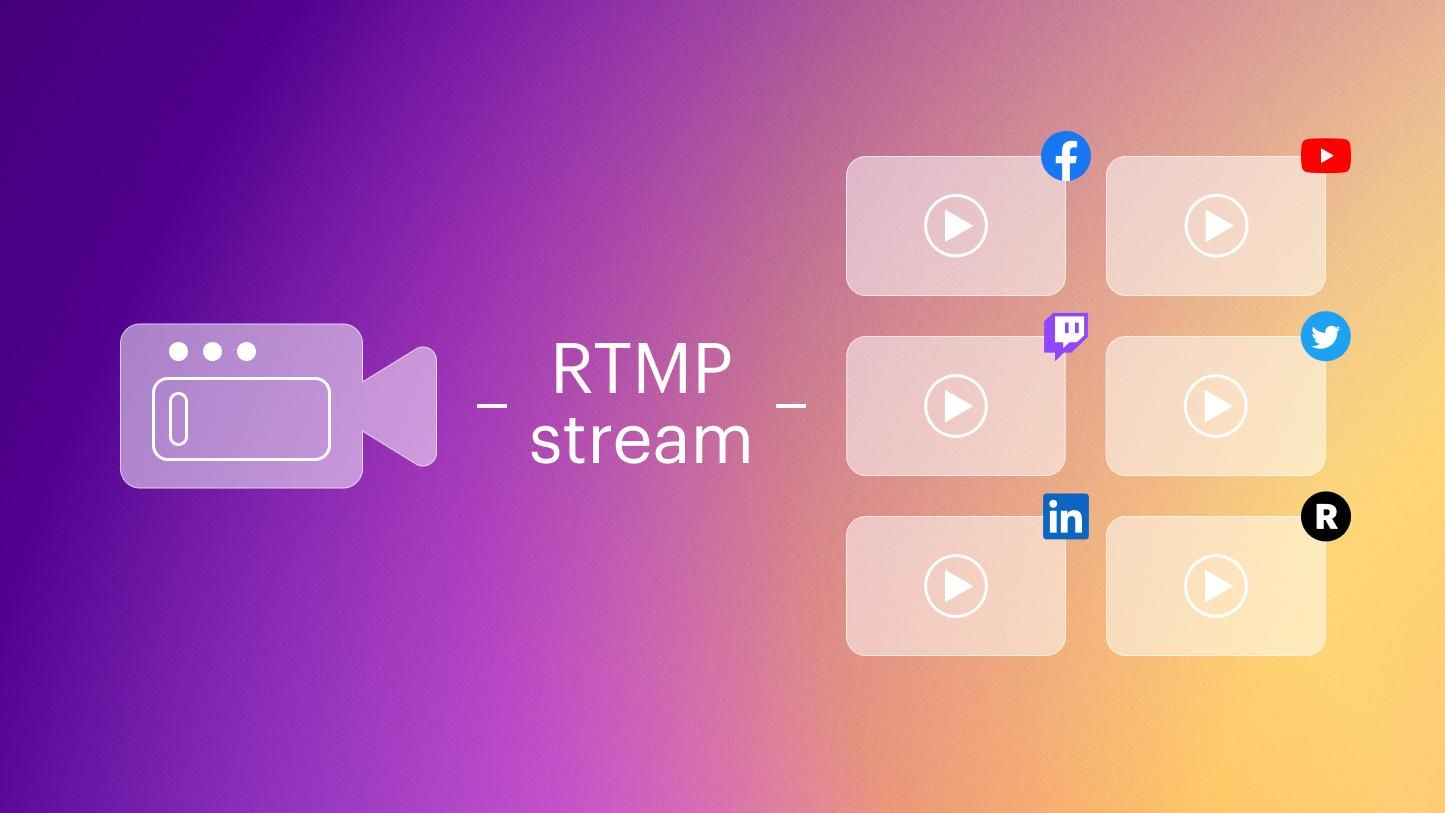
MiroTalk SFU supports live RTMP streaming through two server options:
| Server | Description |
|---|---|
| Node Media Server | Node.js-based, includes admin dashboard and API |
| Nginx RTMP | Lightweight Nginx module for simple RTMP streaming |
Both are available under rtmpServers/ and integrate seamlessly with MiroTalk SFU.
Prerequisites
Ensure your system has Docker Engine, Docker Compose, and FFmpeg installed:
Option 1: Node Media Server
Setup
1. Prepare directories:
2. Configure:
Generate SSL certificates with Certbot:
sudo certbot certonly --standalone --email your-email@example.com --agree-tos -d YOUR-DOMAIN-NAME
Certificates are saved to /etc/letsencrypt/live/YOUR-DOMAIN-NAME/. Mount them in docker-compose.yml:
services:
  mirotalk-nms:
    container_name: mirotalk-nms
    image: mirotalk/nms:latest
    volumes:
      - ./src/config.js:/app/src/config.js:ro
      - /etc/letsencrypt/live/YOUR-DOMAIN-NAME/fullchain.pem:/app/src/cert.pem:ro
      - /etc/letsencrypt/live/YOUR-DOMAIN-NAME/privkey.pem:/app/src/key.pem:ro
    ports:
      - '1935:1935'
      - '8081:8081'
      - '8043:8043'
    restart: unless-stopped
3. Pull the Docker image:
4. Manage the server:
| Command | Action |
|---|---|
npm run nms:start |
Start |
npm run nms:stop |
Stop |
npm run nms:restart |
Restart |
npm run nms:logs |
View logs |
Access Points
| Endpoint | URL |
|---|---|
| Admin Dashboard | https://your-domain:8043/admin |
| Server API | https://your-domain:8043/api/server |
| Streams API | https://your-domain:8043/api/streams |
Option 2: Nginx RTMP
Setup
1. Prepare directories:
2. Configure:
3. Pull the Docker image:
4. Manage the server:
| Command | Action |
|---|---|
npm run rtmp:start |
Start |
npm run rtmp:stop |
Stop |
npm run rtmp:restart |
Restart |
npm run rtmp:logs |
View logs |
Statistics
MiroTalk SFU Configuration
Configure RTMP settings in app/src/config.js:
rtmp: {
  enabled: true,
  useNodeMediaServer: true,        // false = use Nginx RTMP instead
  apiSecret: 'mirotalkRtmpApiSecret',
  server: 'rtmp://localhost:1935',
  appName: 'live',
  streamKey: '',                   // leave empty for dynamic generation

  // Node Media Server only (useNodeMediaServer: true)
  secret: 'mirotalkRtmpSecret',   // must match NodeMediaServer config
  expirationHours: 4,             // signed URL expiration
},
For all available settings and defaults, see the source config (RTMP section).
Note
When using Nginx RTMP (useNodeMediaServer: false), only enabled, useNodeMediaServer, server, appName, and streamKey are needed.
Streaming with OBS
- Open OBS → Settings → Stream.
- Configure:
| Setting | Value |
|---|---|
| Service | Custom... |
| Server | rtmp://your-domain:1935/live |
| Stream Key | Any unique identifier (e.g., my-stream-123) |
- Click Start Streaming.
- Share your stream URL:
rtmp://your-domain:1935/live/your-stream-key
Authentication (Node Media Server)
If authentication is enabled in config.js:
Generate a signed URL:
Use the output URL format: